LOGIN
Info Terkini:
*** Ditogel.com - Bandar Togel Online Resmi | Live Game Online Kualitas Terbaik | Minimal Deposit 10.000 IDR | Proses Transaksi Dijamin Cepat dan 100% Aman dan Terpercaya
Cara Bermain
History Nomor
Buku Mimpi
Referral
Hubungi Kami
Lupa Password
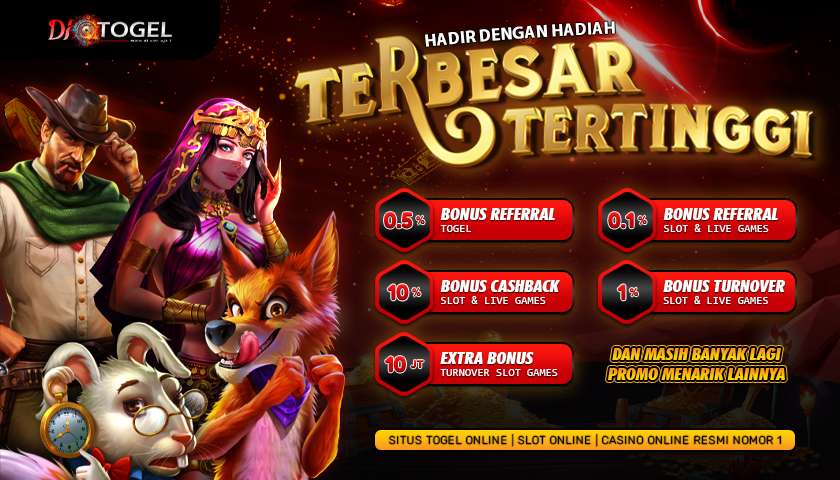
Promosi
Daftar
Hasil Terakhir
Berita Terakhir
Jadwal Pasaran Togel
10-03-2024 13:09:42
Jadwal Bank Offline
11-07-2022 03:33:57
Togel Online Terpercaya
25-07-2021 19:08:29
Large modal
×
Jadwal
Bank
Bank Online (
) /
Bank Gangguan (
) /
Bank Offline (
)